
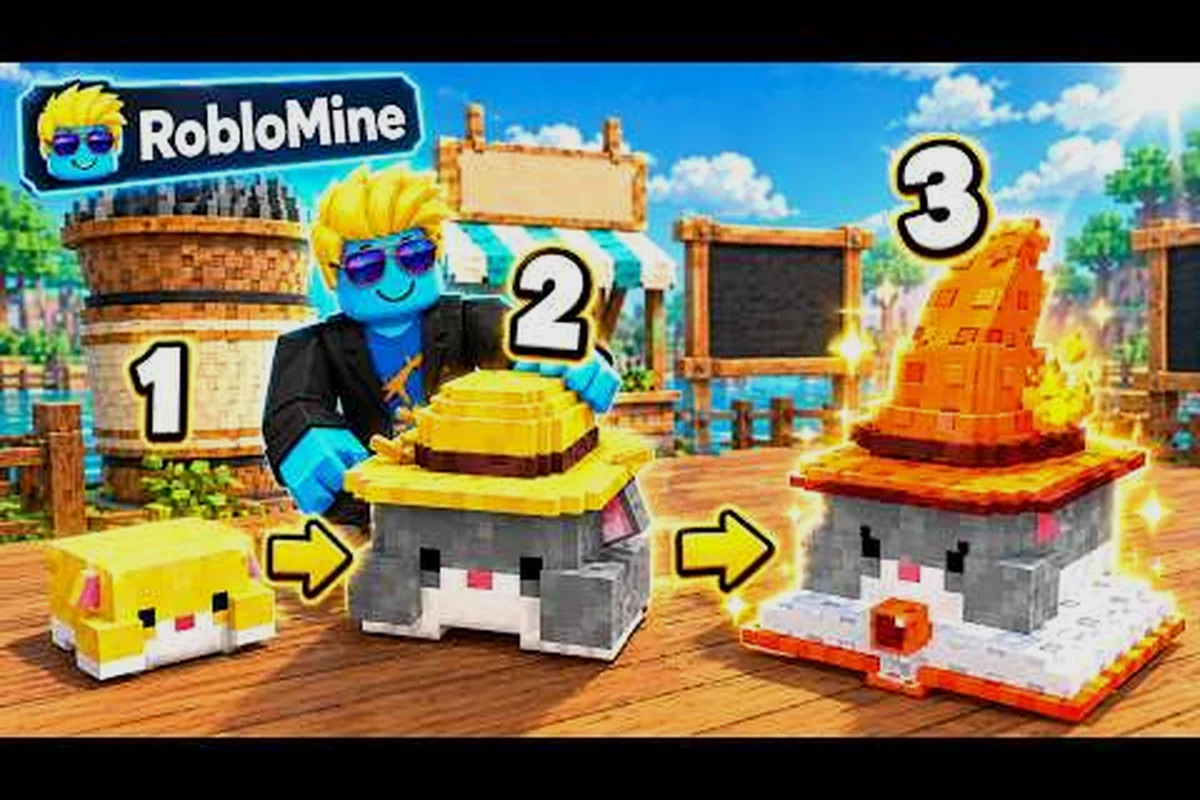
Hamster Village is a compact merge tycoon on Roblox built around a single, satisfying feedback loop: buy hamsters, let them drop Seeds, deposit Seeds for Money, then funnel that Money back into more hamsters and merges. According to the official Hamster Village Roblox page, the developer Dojo Empire launched the game on August 19, 2026, and community data as of September 26, 2026 shows the title has already cleared 2.27 million visits, around 66.8K favorites, and roughly 19K likes against only 346 dislikes, which puts the like-to-dislike ratio at about 98 percent positive. That kind of response matters for new players because it confirms the loop is working: people stay, they merge, and they return. This Hamster Village beginner guide breaks down the seed economy, the merge chain, and the early decisions that shape the rest of your run.
The Core Loop: Seeds, Money, and Why Order Matters
Hamster Village runs on a three-stage pipeline: Seeds drop from idle hamsters, you collect them by walking over them or tapping the pickup, then you deposit them at the Money pad to convert that pile into spendable currency. According to the official game page, the loop is short on purpose, which means the game rewards players who keep the cycle turning rather than hoarding. A new player who lets Seeds pile up on the ground is leaving easy Money on the table, because every Seed you ignore is Money you are not reinvesting into the next hamster or merge.
The beginner mistake is to treat Seeds like inventory. They are not. Seeds are throughput: their value only shows up when they hit the deposit pad. Once you internalize that, the rest of the game clicks. A useful frame is to think of each hamster as a tiny vending machine that spits out currency over time, and the deposit pad as the register that turns the spits into something you can spend.
| Stage | Action | Why It Matters |
|---|---|---|
| 1. Buy hamster | Spend Money from the shop | Cheaper hamsters are the right starting point |
| 2. Wait + collect | Pick up dropped Seeds | Uncollected Seeds stall the entire economy |
| 3. Deposit | Walk Seeds to the Money pad | Converts throughput into reinvestable capital |
| 4. Reinvest | Buy another hamster or merge two | Pushes the engine forward |
A practical tip is to set a deposit rhythm. Every 30 to 60 seconds, walk a lap around your area, scoop every Seed you see, and drop the haul at the pad. That single habit is the difference between a slow first hour and a snowballing economy, because the Money pad conversion rate stays constant while your hamster count keeps growing. If you want a closer look at how the cycle feeds into the rest of the progression, the Hamster Village complete guide walks through the full pipeline in detail.
Reading the Shop: What to Buy First
The shop is where most new players stall, because the price tags climb fast and the value of each tier is not always obvious. According to the official page, the cheapest hamster is the correct entry point, and you should not stretch your budget for a fancier-looking unit before you have the deposit rhythm in place. A higher-tier hamster drops Seeds faster, but only matters if you are already collecting and depositing on a loop. Buying a premium hamster with a half-empty Money pad is the equivalent of buying a sports car before you can drive.
Tier 1 to Tier 3: The Foundation Window
The first three hamster tiers form what experienced players call the foundation window. During this period, your job is not to merge aggressively or chase rare units, but to learn the rhythm of drop, collect, deposit, and reinvest. Most of the game's growth happens later, in tiers 4 through 8, but the foundation window is where you build the deposit habit that the rest of the run depends on. Skipping it to chase a flashy hamster is a classic new-player trap, because the higher tiers do not compensate for a broken collection loop — they amplify it.
| Tier Range | Player Goal | Common Mistake |
|---|---|---|
| Tier 1–2 | Learn drop and deposit rhythm | Sitting on Seeds without depositing |
| Tier 3 | Start your first merges | Merging too early before having a pair |
| Tier 4–5 | Expand hamster count | Ignoring deposit cadence under heavier load |
| Tier 6+ | Push merge chain | Spending Money on cosmetics before the chain is stable |
When to Spend vs. When to Save
A reliable rule of thumb during the foundation window is to keep roughly 20 to 30 percent of your Money unspent as a buffer, because merges require you to hold a matching pair long enough to actually combine them, and selling a hamster back mid-merge costs you both the unit and the time you invested. Beginners who spend every dollar immediately tend to hit a soft wall around the third merge, because they have no spare capital to repair the chain if a hamster gets knocked out or sold by mistake. The Hamster Village for beginners starter guide treats this same idea from a slightly different angle, focused on the first hour specifically.
Merges Explained: Pairs, Tiers, and the Collection Roster
Merging is the long-term progression engine, and it works in a strict, predictable way: two hamsters of the same tier combine into a single hamster of the next tier up, and the higher-tier hamster drops Seeds noticeably faster. According to the official game page, unlocking new tiers also expands the collection roster, which is the game's way of rewarding players who push deep into the merge chain. The chain is linear at first, but as you climb the tiers the visual variety and drop rates both change, which is what gives the late game its sense of momentum.
How a Merge Actually Works
Step one: own two hamsters of the same tier. Step two: bring them close together and trigger the merge. Step three: confirm the action if a confirmation prompt appears, then watch the new, higher-tier hamster appear in the spot of the pair. That is the entire mechanic, but the discipline around it matters. Beginners who merge the moment they see a pair tend to fuse their only safety net and end up with a single hamster that drops fast but cannot be merged again until they grind another pair. Patient players keep at least one backup pair on the field so the chain can survive an unlucky run.
The Merge Chain at a Glance
| Tier | Merge Cost (Pairs Required) | Practical Role |
|---|---|---|
| Tier 1 → 2 | 1 pair | First upgrade, small Seed boost |
| Tier 2 → 3 | 1 pair | Solid foundation unit |
| Tier 3 → 4 | 1 pair | First "real" growth tier |
| Tier 4 → 5 | 1 pair | Mid-game workhorse |
| Tier 5+ | Pairs + patience | Late-game push toward roster completion |
A useful framing is to treat the chain as a ladder rather than a sprint. Every rung you climb doubles the value of the rung below, because the higher-tier hamster both drops more Seeds and is itself part of the next merge. Players who race up the ladder without securing the rungs behind them often have to backtrack, which is much slower than climbing at a measured pace. If you want a full walkthrough of merge timing and pair management, the Hamster Village merge guide covers the chain from a mechanics-first angle.
Early-Growth Priorities: Where New Players Should Spend First
According to the official page, the game does not support code redemption and VIP or private servers are disabled, so every bit of progression comes from Seeds, Money, and merges. That makes the order in which you spend your Money one of the few real strategic choices in the early game, and it is where most beginners either build a strong foundation or burn an hour going nowhere.
The Three Upgrades That Matter Most
Three early priorities consistently outperform the alternatives for new players, based on what the loop rewards and what the merge chain needs to keep moving.
-
Cheapest hamster in the shop — keeps your hamster count growing, which is the raw material for every future merge.
-
A second matching hamster — as soon as you can afford it, because every merge you delay is Seeds you are not earning from the higher tier.
-
Deposit-pad focus over cosmetics — the deposit pad is the only conversion point in the economy, and upgrading or protecting it indirectly upgrades your entire roster.
A common mistake is to spend on cosmetic-only upgrades before the chain is stable. The game does have cosmetic layers, but they do not move the merge chain forward, and a player with a pretty layout but no Tier 4 hamster is going to fall behind a player with a plain layout and a working engine. If you want a more opinionated take on which shop options are worth the Money, the Hamster Village buying hamsters guide goes deep on the store side of progression.
Reading the Map: Where to Stand
Hamster placement matters more than beginners expect. Hamsters drop Seeds in a small radius around themselves, and Seeds that fall off the playable area or into hard-to-reach corners are effectively lost. A practical tip is to cluster your hamsters in a tight zone near the deposit pad, so every Seed drop has a short, predictable path to the pad. Players who spread their hamsters across the map end up with Seeds scattered everywhere, and the time they spend running back and forth cuts directly into the time their hamsters spend dropping.
Setting the Pace: A Realistic First-Hour Plan
Hamster Village rewards consistency more than intensity, and the most reliable way to build momentum in the first hour is to follow a small, repeatable plan rather than improvising. The plan below is designed around the rhythm the game actually rewards, not the rhythm a player hopes for.
| Minute | Goal | What to Watch |
|---|---|---|
| 0–5 | Buy first hamster, learn pickup and deposit | Whether Seeds are actually being collected |
| 5–15 | Reinvest every deposit into a new hamster | Money balance, not hamster count |
| 15–30 | First merge attempt | Whether you have a real pair, not a near-match |
| 30–45 | Expand to 4–6 hamsters | Deposit cadence, not cosmetics |
| 45–60 | Second merge, target Tier 3+ | Whether the higher tier actually drops faster |
According to community reports from players streaming on YouTube, the merge chain tends to start feeling meaningful around the 30 to 45 minute mark, when the second or third merge kicks in and the Seed drop rate visibly accelerates. That timing is not guaranteed — it depends on how disciplined you are with deposits — but it is a useful benchmark for new players who feel like the game is moving slowly. If you hit the one-hour mark and the chain still feels flat, the most common cause is a deposit rhythm that is not actually running, not a hamster shortage.
A second pacing tip is to treat the first hour as a tutorial you are giving yourself. The game does not hand you a checklist, so the checklist is the rhythm: buy, collect, deposit, reinvest, merge, repeat. Once that rhythm is automatic, the rest of the game opens up, because every later system in Hamster Village is built on top of that loop rather than alongside it. Beginners who skip the rhythm and try to brute-force the merge chain usually plateau around Tier 3 and have to rebuild the habit from scratch, which is slower than learning it right the first time.
What Experienced Players Do Differently
Once the foundation is solid, the gap between a new player and an experienced one comes down to a handful of small habits. None of them are flashy, which is why beginners often miss them, but together they are what separate a stalled run from a fast-growing one.
-
They merge in pairs, not singles. Holding onto a single hamster of a tier instead of merging it leaves you with a unit that cannot progress the chain.
-
They keep the deposit pad clear. A cluttered pad slows down the next deposit, which slows down the next reinvestment, which slows down the next merge.
-
They ignore cosmetic spend until the chain is stable. The hamster count and merge tier compound; cosmetics do not.
-
They treat Seeds as a flow, not a stockpile. The game's economy runs on turnover, and the moment Seeds stop moving, growth stops.
-
They watch the merge chain, not the hamster count. Two Tier 4 hamsters are worth more than six Tier 1 hamsters, because the Tier 4 pair unlocks the next rung.
These habits are not hidden tricks; they are the natural outcome of understanding the loop. According to community testing reported by players on YouTube, the developers also ship updates frequently, with server shutdowns used as update windows, so the meta shifts slightly from week to week. That means the underlying loop stays the same, but specific tier values or drop rates may be tuned between patches, so checking the official page after an update is a smart habit to build.
Where to Go After the First Hour
Once the foundation is stable, the game opens up in three directions. The first is the merge chain, which is the main progression track and rewards players who push deep into higher tiers. The second is the collection roster, which expands as you unlock new tiers and gives long-term players a completion goal. The third is the economy loop, which keeps compounding as long as your deposit rhythm holds, and which eventually produces more Money than you can spend on hamsters alone.
A balanced approach is to push the merge chain for the first 30 to 60 minutes of any session, then switch into a maintenance mode where you top up hamster count, protect your highest pair, and let the engine run while you watch the collection roster fill in. That mix of active push and passive growth is what experienced players describe as the "Hamster Village flow," and it is the closest thing the game has to an endgame state, because there is no final boss or hard cap — the loop just keeps going as long as you keep merging.
If you are not sure which direction to prioritize, the practical answer is: keep the deposit rhythm first, push the merge chain second, and only worry about the roster once the chain is comfortably above Tier 4. That ordering keeps the engine from stalling and makes sure every later upgrade you buy is built on a working foundation.
Frequently Asked Questions
How do I start playing Hamster Village as a complete beginner?
Open the official Hamster Village Roblox page, join a server, and buy the cheapest hamster in the shop with your starting Money. Let it drop Seeds, pick them up, and walk them to the deposit pad. Reinvest every payout into another hamster until you can afford a matching pair, then merge them to unlock the next tier. This is the entire foundation.
What should I do first in the first five minutes of a new save?
Buy the cheapest hamster, set a deposit rhythm of every 30 to 60 seconds, and resist the urge to spend on cosmetics. The first five minutes are about learning the drop-collect-deposit loop, not about pushing the merge chain, and beginners who rush the chain without a working rhythm usually stall around Tier 3.
How does merging actually work, and when should I do it?
Merging two hamsters of the same tier produces a single hamster of the next tier, which drops Seeds faster and counts toward the next merge. The right time to merge is when you have a real pair and your deposit rhythm is already running, because a merge without a rhythm just speeds up a stalled engine. If you want a deeper breakdown of merge timing, the Hamster Village Roblox beginner guide covers the chain step by step.
Are there any codes or VIP perks in Hamster Village?
No. According to the official page, the game does not support code redemption, and VIP and private servers are disabled, so progression is entirely driven by Seeds, Money, and merges. Any third-party site claiming to have working codes is not affiliated with the developer, so the safest bet is to ignore them and focus on the in-game loop.
How long does it take to see real progress in the merge chain?
Community reports from players streaming on YouTube suggest the chain starts to feel meaningful around the 30 to 45 minute mark of a focused session, when the second or third merge lands and the Seed drop rate visibly accelerates. Exact timing depends on how disciplined your deposit rhythm is, but that window is a reliable benchmark for new players who feel like the early game is moving slowly.