
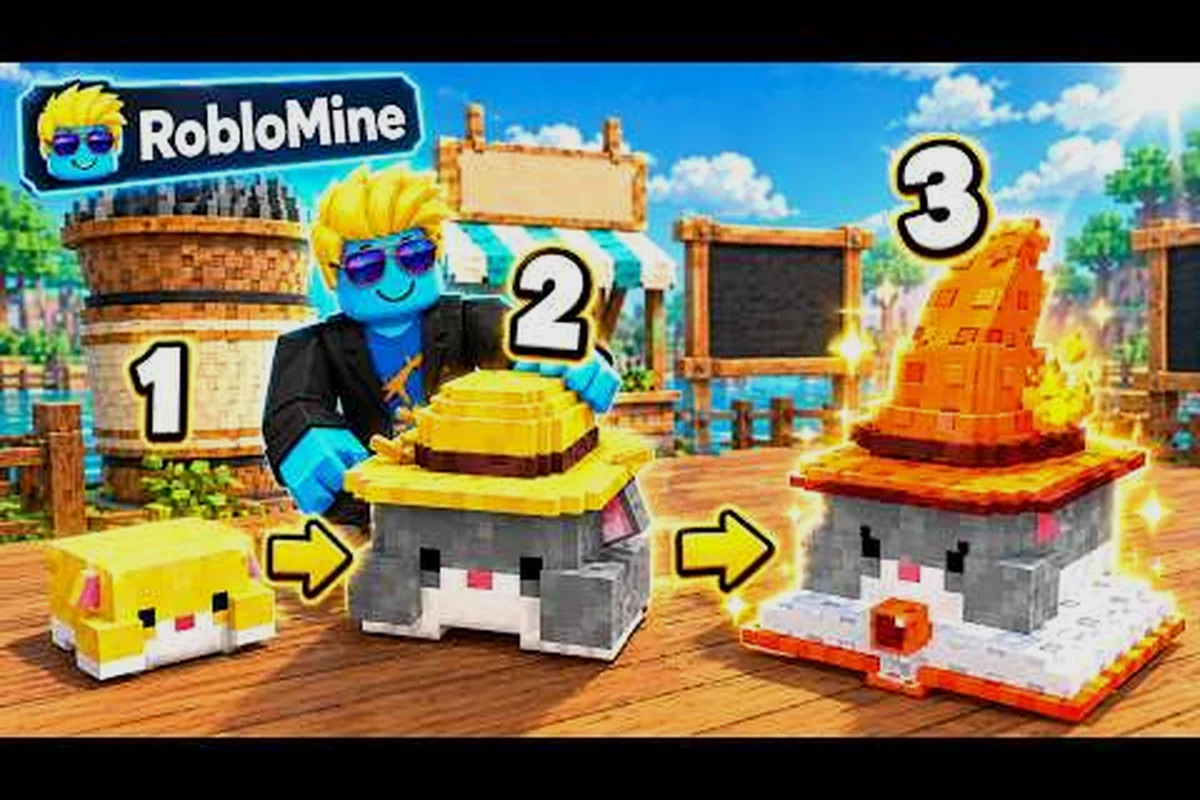
Hamster Village drops you into a cozy merge-tycoon loop built around one simple engine: hamsters generate Seeds, Seeds convert into Money, and Money unlocks bigger hamsters that produce Seeds faster. Getting the first thirty minutes right is what separates a stalled village from a steadily compounding one, so this hamster village new player guide focuses on the early decisions that actually compound. The goal is to give you a working mental model of the seed economy, the placement controls, and the merge order that turns starter scraps into a self-funding production line.
How the Three Resources Form One Engine
Every action in the game funnels back through one repeating cycle, and the fastest way to internalize it is to see the three resources as a single engine rather than three separate numbers. The hamster buys Seeds over time, the player taps to collect them, the deposit button converts Seeds into Money, and the Money either buys a new hamster or funds the next merge. Once that loop clicks, the entire rest of the hamster village getting started experience becomes a question of where to spend the next coin. The deposit button converts Seeds into Money, and the Money either buys a new hamster or funds the next merge, and once that loop clicks, the entire rest of the hamster village getting started experience becomes a question of where to spend the next coin, which is exactly where a full breakdown of every hamster, building, and merge tier in the village economy pays for itself within the first ten minutes.
How Seeds Fuel Every Upgrade
Seeds are the raw fuel of the village, and they drip out of every hamster you own at a fixed interval that scales with the hamster's tier. The cheapest hamster produces Seeds slowly, while a higher-tier hamster that you built by merging two matching units produces Seeds noticeably faster, so the first hour of any run is really a fight against a slow drip. Every player should treat the earliest hamsters as a means to an end rather than a permanent fixture, because the value of a low-tier hamster is in the Seeds it generates before it gets merged away.
The conversion from Seeds to Money happens at the deposit terminal, and community testing shows that depositing in smaller frequent batches feels smoother than hoarding Seeds in your pocket. Hoarding actually caps the visible counter and tempts you into thinking you are richer than you are, so a steady rhythm of collect-and-deposit keeps the Money engine turning over. The official Hamster Village player page on Roblox describes this loop almost exactly, which is a good sign that you are not missing a hidden mechanic.
Where Money Goes
Money has exactly two sinks in the early game: new hamster purchases from the shop, and merge pairs that push two matching hamsters into a single higher-tier hamster. The merge path is almost always more efficient per coin than buying a brand new random hamster, because two of the same tier reliably become one of the next tier up, while a fresh shop hamster usually duplicates a tier you already own. New players tend to over-buy from the shop, which is the most common reason a village stalls in the first ten minutes.
| Action | Cost Profile | When to Use It | When to Avoid It |
|---|---|---|---|
| Buy cheapest shop hamster | Low | Filling empty tile space early | After you already own 2+ of that tier |
| Merge two matching hamsters | Free, occupies fewer tiles | When you have a matching pair | Never merge unique tiers apart |
| Buy mid-tier shop hamster | Medium | Shortcutting a slow tier jump | Before you have stable income |
| Hold Seeds in pocket | Zero | Visual planning only | Once a session feels idle |
Reading the Interface on Day One
The interface looks busy on first load, but most of the screen real estate is decorative, and only a handful of buttons actually drive progress. A clean hamster village interface guide starts with the four controls that matter: the shop button, the deposit button, the merge prompt, and the placement grid itself. Everything else is either cosmetic, a leaderboard, or a settings toggle that you can ignore for the entire first session.
Shop, Deposit, and Merge Prompts
The shop button is the only way to spend Money on a new hamster, and it rotates stock or refreshes at a set cadence depending on how the developer has tuned the live build. The deposit button is the only way to convert Seeds into Money, and tapping it empties your pocket into the village bank in a single transaction. The merge prompt appears automatically when two matching hamsters occupy adjacent eligible tiles, and accepting it consumes both hamsters and produces one higher-tier hamster in their place.
A small but important detail is that merge eligibility is gated by tile rules, which is why placement is not just a visual choice. If you spread hamsters across distant corners, the merge prompt may never appear even when you own two of the same tier, and you will slowly leak Seeds by keeping the pair unmerged. Clustering matching pairs on the same row of the grid is the fastest way to keep the merge prompt firing on its own.
Placement Grid and Tile Economy
The placement grid has a fixed number of tiles, and the early game gives you a small but workable footprint that grows as you hit Money milestones. Every hamster you place consumes a tile, and every merge frees a tile because two hamsters become one. Tile space is therefore an indirect currency: a full grid stops you from buying more hamsters even if you have the Money, which forces you to either merge or sell.
The most common beginner mistake is to fill every tile the moment Money allows it, because that feels productive but actually starves the merge chain. Leaving one or two tiles empty gives you room to drop a freshly bought hamster next to a matching partner, which keeps the merge prompt alive. The merge chain is the heart of the hamster village roblox guide philosophy: more merges per minute beats more hamsters per minute almost every time.
| Control | Location on Screen | Frequency of Use | Common Mistake |
|---|---|---|---|
| Shop button | Top or side panel | Every 30-90 seconds | Buying before deposit |
| Deposit button | Central UI | Every 10-20 seconds | Forgetting to deposit |
| Merge prompt | Pop-up over grid | Every few minutes | Dismissing the prompt |
| Placement tiles | Main grid | Continuous | Filling every tile |
Early Merge Order and First Builds
A merge order is simply the sequence in which you commit pairs to merge, and the right sequence in the first hour can roughly double your effective Seed income compared with a random sequence. The general rule is to merge as soon as you have a pair, because the freed tile plus the faster-dripping higher-tier hamster pays for the patience within a minute or two. Holding pairs for a "bigger" merge later usually backfires, because you spend more time at a slow drip than you save by waiting.
A Safe Opening Build
A safe opening build for the hamster village quick start guide is a single row of matching pairs, rebuilt constantly, with one buffer hamster acting as a wildcard. The row gives you predictable merge prompts, the wildcard lets you absorb shop purchases without breaking the chain, and the row itself stays shallow enough to manage visually. This is not a flashy build, but it is the one most likely to keep a new player's income climbing instead of flatlining.
The reason this build works is that merge pairs are denser when tiles are arranged in a line, because the merge prompt is more likely to find a valid adjacent pairing. A scattered grid of hamsters technically supports the same merges, but the prompts fire less often because eligibility is distance-sensitive. Community reports from the hamster village roblox game guide crowd describe a row layout as the safest first-day template, and a quick visual scan of any long-running village will usually show the same pattern.
Spend or Merge: The Matched-Pair Test
The spend-versus-merge decision comes down to one question: do you currently have an unmatched hamster sitting in a tile that could become a pair within the next shop refresh? If yes, the right move is usually to merge existing pairs first, because every merge frees a tile and raises your drip rate simultaneously. If no, and your grid is full of un-pairable tiers, then spending Money at the shop is the right move because new stock at least gives you a chance to form a new pair.
This decision framework is a useful guardrail for new players, because the failure mode is almost always to over-spend. A village that merges aggressively but buys rarely tends to plateau at a low tier, but it never stalls. A village that buys aggressively but merges rarely tends to fill the grid fast, then stall because no pairs exist. The balanced rhythm is the goal, and it is what a good hamster village beginner walkthrough eventually drills into muscle memory.
| Build Slot | Role | Tier Range Day 1 | Failure If Ignored |
|---|---|---|---|
| Main row | Merge pairs | Tier 1-3 | Slow drip, no prompts |
| Buffer hamster | Shop absorption | Any | Tiles lock up |
| Empty reserve | Headroom for buys | N/A | No room to place |
| Corner slot | High-tier parking | Tier 3+ | Crowds the main row |
Day-One Pitfalls: Over-Buying, Under-Depositing, Over-Spreading
New players tend to make the same handful of mistakes, and almost all of them trace back to either over-buying, under-depositing, or over-spreading hamsters across the grid. Recognizing these patterns early is a faster path to progress than any hidden trick, because the game's economy is honest about rewarding steady play. This section walks through the three most common hamster village pitfalls and the small adjustments that fix each one.
Over-Buying From the Shop
The shop exists to break dry spells, not to be the main way you grow, and treating it as the primary growth path is the single most common new-player mistake. Every shop hamster you buy before you have a matching partner is effectively a wasted tile, because it will sit there dripping slowly until either you buy a duplicate or you give up and place a new one. The discipline is to check the shop, ask whether the new hamster completes a pair, and only spend when the answer is yes.
When the answer is no, the better move is to let the Money accumulate and let the existing grid keep dripping. Players who follow the hamster village starter guide pattern of merging-first-buying-second consistently reach tier three or four within the first ten minutes, while players who buy-first-merge-second often sit on a full grid of mixed tiers at the end of that same window. Patience is a real currency in this game, and the shop is a tool, not a goal.
Forgetting to Deposit
The deposit button is small, the Seeds counter sits right next to it, and it is genuinely easy to forget to tap it, especially during a merge chain. Undeposited Seeds do nothing for the village, because the production engine is Money, and Money only appears when Seeds hit the deposit terminal. A useful habit is to deposit after every merge, because merges are infrequent enough to be a natural checkpoint and frequent enough to keep the Money flowing.
A second habit worth picking up is to glance at the Money counter before every shop visit, because the shop's prices are calibrated to your current tier and you will start to internalize the price ladder within a session. The official Dojo Empire developer group page confirms that updates ship continuously and that progression is entirely driven by Seeds, Money, and the merge chain, so the deposit rhythm is the engine that turns Seeds into the next hamster.
Spreading Hamsters Across the Grid
Spreading hamsters across every corner of the grid looks active but actually throttles your merge prompts, because the adjacency check becomes harder to satisfy when matching pairs are far apart. The fix is to consolidate: drag or place matching hamsters onto the same row, accept the merge prompt when it appears, and only break the row layout when you genuinely need an extra tile for a shop hamster. A consolidated grid looks tidier, but more importantly, it produces merges at a noticeably higher rate.
The hamster village roblox walkthrough community has been surprisingly consistent on this point, and a quick look at any long-running village shows a clustered layout rather than a scattered one. The merge prompt is the game's way of rewarding good placement, and good placement is the player's way of rewarding the game's economy. Both sides of that handshake matter, and the player side is the one you control.
Mid-Session Decisions: Pacing the First Thirty Minutes
The first thirty minutes are where hamster village new player habits are formed, and small choices in that window have an outsized effect on the rest of the session. A reasonable pacing target is to reach tier three within the first ten minutes, tier four by minute twenty, and tier five by minute thirty, with a stable row layout maintained throughout. These targets are not strict, but they give new players a benchmark to compare against their own runs.
Seed and Money Milestones
The milestones that matter most are tier unlocks, because each new tier roughly doubles the per-hamster Seed rate compared with the previous one, which means the village's income grows non-linearly rather than linearly. A village that reaches tier four on schedule is producing Seeds roughly four times faster than a village stuck at tier two, and that gap widens every minute. The hamster village guide 2026 crowd often points this out as the single biggest reason to merge aggressively.
A second milestone worth tracking is the deposit count, because the deposit button is the visible proof that the engine is turning. Players who deposit every 10-20 seconds tend to feel like the game is generous, while players who deposit every few minutes often feel like progress has stalled. The truth is that the underlying rate is identical for both; the perception difference is just the rhythm of feedback, which is why a metronome-style deposit habit is one of the most underrated hamster village tips and tricks for new players.
Adapting When Things Stall
Every run hits a wall at some point, usually around the tier where merges get expensive in terms of patience rather than Money. The fix is almost always one of three moves: consolidate the grid to fire more merge prompts, drop the shop habit for a few minutes to let deposits pile up, or accept a small loss by selling an un-pairable hamster to free a tile. Any one of these three moves usually breaks the stall within a minute or two, and recognizing the pattern is faster than waiting for the game to hand you a free pair.
The hamster village getting started mindset is to treat stalls as signal rather than failure, because the game is genuinely transparent about rewarding the right behaviors. If merges have stopped firing, the grid is the problem. If deposits feel slow, the rhythm is the problem. If the shop keeps offering duplicates, the layout is the problem. Each symptom has a known fix, and the fix is always in the player's hands, which is part of why this is such a friendly game to learn by doing.
| Time | Target Tier | Target Layout | Common Stall Cause | Recovery Move |
|---|---|---|---|---|
| 0-5 min | Tier 2 | Row of pairs | Empty tiles unfilled | Buy matching hamster |
| 5-15 min | Tier 3 | Row + buffer | Shop duplicates | Stop buying, merge twice |
| 15-25 min | Tier 4 | Row + corner | Grid full | Sell un-pairable hamster |
| 25-30 min | Tier 5 | Row + corner + buffer | Merge delay | Consolidate to one row |
Beyond Day One: What the First Hour Teaches You
The first hour of a hamster village new player run is short but information-dense, and almost every mechanic the game has to offer makes an appearance in that window. By the time you reach tier five, you have already exercised the shop, the deposit terminal, the merge prompt, the placement grid, the tile economy, and the pacing rhythm that turns a starter village into a steady production line. That is the entire game in miniature, and everything after the first hour is the same loop at a higher scale.
What Scales and What Stays the Same
The merge chain scales because higher tiers produce Seeds faster, the placement grid scales because Money milestones unlock more tiles, and the shop scales because the stock rotates toward the tiers you can actually use. What stays the same is the rhythm: deposit often, merge pairs as soon as they form, treat the shop as a tool, and keep the row layout tight. New players who internalize that rhythm in the first hour tend to keep the same habits at tier ten, which is why early discipline pays off far longer than most beginners expect.
The hamster village roblox tutorial mindset is to treat the first session as training wheels rather than a finished build, because the loop you practice in the first hour is the loop you will run for the entire rest of the game. Players who learn to enjoy the rhythm rather than chase the next number tend to play longer and progress further, and that is a useful frame for any new player who is still deciding whether hamster village is for them.
A Compact Pre-Session Checklist
Before you start a fresh run, a quick mental checklist helps avoid the most common early mistakes. The list is short on purpose, because the game rewards focus rather than multitasking, and a four-item checklist is easier to keep in working memory than a fifteen-item one. The four items are: deposit rhythm, pair-first buying, row layout, and one empty reserve tile.
-
Deposit rhythm: tap deposit after every merge, or every 10-20 seconds
-
Pair-first buying: check whether a shop hamster completes a pair before spending
-
Row layout: keep matching pairs on the same row whenever possible
-
One empty reserve: leave at least one tile free for the next shop hamster
That four-item checklist, combined with the milestones and the merge order above, is essentially the full hamster village new player guide in compressed form. New players who keep the checklist in mind tend to reach tier five within thirty minutes and tier six or seven within the first hour, and they do it without any hidden tricks or pay-to-shortcut mechanics. The game is honest about rewarding the right habits, and the right habits are simple once you see them written down.
Frequently Asked Questions
What should a new player do first in Hamster Village?
Start by buying the cheapest hamster in the shop, collecting Seeds as soon as they drop, and depositing them into the Money terminal before buying again. The first ten minutes are about establishing a deposit rhythm and a row layout rather than chasing a specific tier.
How does merging work in Hamster Village?
Merging consumes two matching hamsters and produces one hamster of the next tier up, while freeing one tile on the placement grid. Higher-tier hamsters produce Seeds at a noticeably faster rate, so merging is the fastest way to grow income.
Is the Roblox shop the best way to get new hamsters?
The shop is useful for filling gaps and breaking dry spells, but the merge chain is usually the more efficient growth path. Players who merge-first and buy-second tend to progress faster than players who buy-first and merge-second.
What is the fastest way to reach the next tier?
Keep the grid consolidated on a single row, deposit Seeds every 10-20 seconds, and accept merge prompts the moment they appear. The combination of dense merges plus a tight layout produces the fastest tier progression in the first hour.