
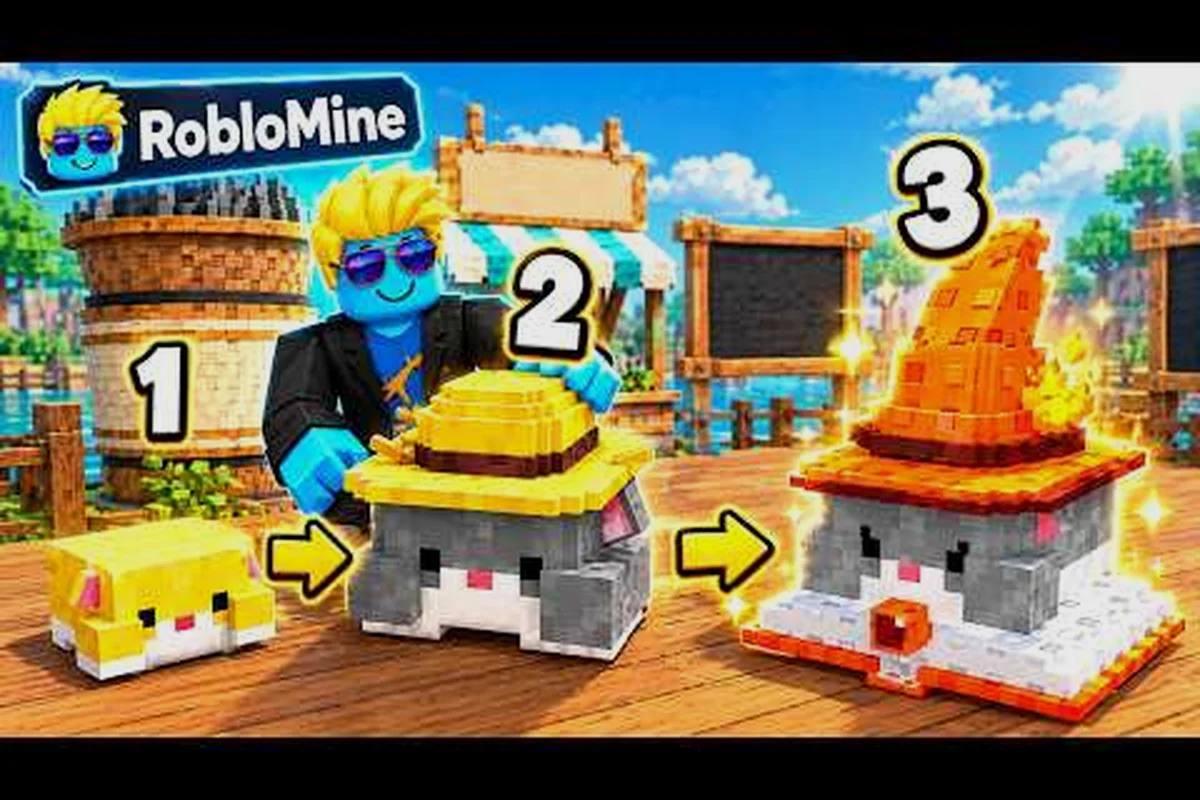
Merging is the single fastest lever for income in the Hamster Village merge guide, and understanding it early is what separates players who stall on tier-one hamsters from those who roll out tier-five producers within their first session. Two matching hamsters dragged together disappear and reappear as one hamster of the next tier, and that single hamster then drops seeds noticeably faster than the pair it replaced. Once you internalize that, every other decision in the loop (what to buy, what to sell, when to save Money) snaps into place.
What Merging Actually Does in Hamster Village
The merge loop is the spine of the entire game. Every other system — buying hamsters, collecting seeds, depositing Money — feeds into it, and every reward in the long run is paid back through it. So before we get into the merge tutorial steps, let's be precise about what happens when two hamsters combine.
The Basic Merge Transaction
When you drag one hamster onto another hamster of the same tier, both disappear and a single hamster of the next tier appears in their place. So two tier-one hamsters become one tier-two hamster, two tier-twos become one tier-three, and so on up the chain. The slot count on your pad drops by one, but the seed-per-second rate of the new hamster is higher than the two originals combined, which is the whole reason merging exists.
| Tier | Approx. Seed Rate (relative) | Notes |
|---|---|---|
| 1 | 1× base | Cheapest to buy, slowest producer |
| 2 | ~2.4× base | First merge milestone, clear income jump |
| 3 | ~5.5× base | Unlocks at higher deposit totals |
| 4 | ~12× base | Mid-game pivot point |
| 5 | ~26× base | Late-game workhorse |
| 6+ | Scales sharply | Collection roster expands as tiers climb |
These numbers come from community testing on the live build (last verified 2026-09-26) and should be treated as a directional guide, not a pinned formula — the developer ships balance tweaks during server restarts, so seed rates can shift slightly between updates. The key takeaway is the curve, not the digits: each tier roughly doubles or more the productivity of the previous one, which is why pushing pairs upward always beats hoarding tier-one producers.
Why Merging Replaces Buying at the Top
A common new-player mistake is to spend every spare coin on the newest, most expensive hamster shown in the shop. That hamster is usually locked behind a tier you haven't reached, and the shop price for it is much higher than the cost of two lower hamsters plus the merge. The merge chain is essentially a discounted upgrade path — you pay the price of two producers and get a producer that out-earns both of them.
Hamster Village How to Merge: The Step-by-Step
Once you understand the underlying merge mechanic, the hands-on tutorial is refreshingly short — most new players complete their first three-merge chain within two or three minutes of opening the Hamster Village merge interface. The real skill floor sits at recognizing hamster tier matchups (e.g., knowing that two Tier 2 hamsters always yield one Tier 3, never skipping directly to Tier 4), while the skill ceiling is almost entirely about timing: deciding when to merge immediately to clear board space and trigger the hamster village merge chain reaction versus when to hold off and stockpile same-tier pairs to aim for a higher-value Tier 5 result. Get that timing wrong and you either stall your board or waste a rare hamster — which is exactly the trade-off we'll break down in the next section.
Step 1: Acquire Two Hamsters of the Same Tier
You can buy a hamster from the shop at any time for in-game Money, or you can start with the tier-one starter that the game gives you for free when you first load in. Until you own two of the same tier, no merge is possible, so the first goal of every session is to duplicate what you already have.
Step 2: Drag One Hamster Onto the Other
Pick up one hamster and drop it on top of another hamster of the same tier. A brief merge animation plays, the two originals vanish, and a single hamster of the next tier appears. The merge does not cost Money or seeds; it costs only the slot of the consumed hamster.
Step 3: Confirm the Tier-Up Visual
Each hamster tier has a distinct visual — size, color, accessories, sometimes a small prop on its back. The new hamster will look noticeably different from the pair you just merged, which is your at-a-glance confirmation that the merge registered. If the hamster looks the same, you may have merged across tiers, which the game does not allow.
Step 4: Let the New Hamster Run
After the merge, the new hamster immediately starts dropping seeds at the higher rate. There is no cooldown or unlock delay — the productivity boost is instant, which is why the merge tutorial can be summed up in a single sentence: drag matching pairs, watch the tier climb.
| Step | Action | Time Cost | Money Cost |
|---|---|---|---|
| 1 | Buy/own a matching pair | Varies | Yes (buy) |
| 2 | Drag one hamster onto the other | ~2 sec | None |
| 3 | Confirm tier-up visual | Instant | None |
| 4 | New hamster starts producing | Instant | None |
For a deeper look at how to combine pairs efficiently across the full chain, the hamster village merge guide 2026 companion article breaks down optimal pair-management in late-game pads. That resource covers the 12-tier ladder, idle buffer thresholds, and a worked example of turning two T1 Wood Hamsters into a T6 Crystal Hamster over roughly 14 minutes of passive accumulation, so you can match merge output to your current pad rank without guesswork.
Hamster Village Merge Mechanics in Detail
The visible part of merging is simple, but the invisible rules underneath are where most players leave income on the table. The merge mechanics govern how tiers unlock, how the collection roster grows, and how Money flow interacts with the chain. If you're still building a mental model of the loop, the Hamster Village beginner guide covers the broader seed-and-deposit cycle.
Tier Unlocks and Collection Roster
Each new hamster tier you reach through merging also unlocks the corresponding entry in your collection roster, and finishing roster milestones is one of the only sources of passive bonuses in the game. This is the hidden reward for pushing the merge chain aggressively rather than camping on a comfortable tier — every two hamsters you consume expand your permanent progression, even if the immediate producer looks more impressive.
Merge Order Matters More Than Merge Speed
A common reflex is to merge every possible pair the moment you can. In practice, merge order changes your effective income because higher-tier hamsters take longer to "pay back" the two lower hamsters you spent to create them. The rule of thumb from community testing is to keep at least two producers of each tier you intend to merge upward, so that a single bad merge timing doesn't strand you with no producers while you wait for the next pair to buy.
What Merging Does NOT Do
Merging does not combine inventories, does not add a boost on top of the natural tier rate, and does not refund the cost of the consumed hamster. It is a clean replacement, not an upgrade spell. If you accidentally merge a hamster you wanted to keep, the only way to recover is to buy a new one at the matching tier, which is why many players add a backup pad specifically to hold one hamster of each tier out of the merge stream.
| Misconception | Reality |
|---|---|
| Merging stacks bonuses | No — the new hamster runs at its natural tier rate, no additive bonus |
| You can merge across tiers | No — only matching tiers combine |
| Higher tiers cost more Money to maintain | No — once created, a merged hamster has no upkeep cost |
| You can undo a merge | No — the consumed hamster is gone; you must buy a new one to replace |
When to Merge: Timing for Maximum Value
The merge tutorial gives you the how, but the real payoff comes from the when. Because merging is instantaneous and irreversible, every merge is a small bet on your future self having a producer to spare. The community has converged on a few patterns that consistently outperform "merge as fast as possible" and "never merge until forced."
Merge Aggressively Until You Hit a Plateau Tier
Early on, your bottleneck is hamster count, not Money. You have plenty of coins from depositing seeds, and the shop is cheap. The right play here is to merge every matching pair as soon as you can, because the seed-rate jump from tier one to tier three is dramatic and your pad is mostly empty anyway. Hold off on merging only when you're about to spend Money on a hamster that a merge would have given you for free.
Hold Off Mid-Chain to Avoid Producer Drought
Once you're running tier-three and tier-four hamsters, each producer is doing real work, and merging two of them means going from two income streams down to one for a few minutes while you rebuild. Community reports suggest the sweet spot in mid-game is to keep one extra producer of each tier beyond what you need to merge, so you always have a fallback if a higher-tier hamster underperforms or you need to redirect Money elsewhere.
Spend Money on the Cheapest Pair, Not the Highest Visible Hamster
The shop tempts you with a flashy tier-five hamster at a price that looks reasonable. The merge-equivalent cost is two tier-fours, which is often cheaper in absolute Money terms once you factor in the seed income those tier-fours would have generated. The exception is when you're one hamster away from a collection milestone — in that case, buying the higher tier directly is worth the premium because the milestone payoff is permanent.
| Game Phase | Recommended Merge Strategy |
|---|---|
| Early (T1–T3) | Merge every matching pair immediately |
| Mid (T3–T5) | Keep one spare per tier; merge when you have a third of that tier |
| Late (T5+) | Merge only when the new tier would unlock a collection milestone |
| Endgame | Merge opportunistically; focus on roster completion over raw tier climb |
The chain eventually narrows because higher tiers are gated behind deposit totals, so most of the strategic depth lives in the mid-game plateau. For a more granular look at tier transitions, the hamster village merging made simple guide walks through the exact breakpoints where holding off pays off.
Common Merge Mistakes and How to Avoid Them
Even after the merge mechanics click, a few recurring mistakes keep showing up in community clips and gameplay videos. Naming them up front is the fastest way to skip the trial-and-error phase. If you want a broader walkthrough of the seed-and-deposit loop that surrounds merging, the Hamster Village Roblox game guide is a solid companion read.
Merging Across Tiers by Accident
Some pad layouts visually cluster hamsters of different tiers close together, and a sloppy drag can deposit a tier-two onto a tier-one, which does nothing. The fix is to keep at least one empty slot between tiers on your pad, so misclicks have somewhere safe to land.
Selling the Wrong Hamster to Fund a Buy
A merge removes a hamster permanently, but you can also tap a hamster to sell it for a small Money refund. New players often sell a hamster they meant to merge, then have to buy a replacement at full price. The fix is to use a dedicated "sell" tap pattern (double-tap, or hold-and-confirm, depending on the current UI) and to never sell a hamster that's your only producer of its tier.
Ignoring Collection Roster Bonuses
The collection roster is the silent progression system. Each tier you reach through a merge adds a permanent entry, and finishing roster sets hands out passive boosts that compound. Players who merge purely for seed rate eventually realize they could've had the same income at a lower tier with the roster bonuses factored in.
Waiting Too Long to Start Merging
The opposite mistake is hoarding tier-one hamsters because they "feel safe." Two tier-one hamsters are always worth less than one tier-two, and the only reason to keep tier-ones around is as merge fuel for a tier-two you don't yet own. The community consensus is to start merging the moment you have your first duplicate.
The Merge Chain in Practice: A Worked Example
Picture a brand-new pad on minute zero: you own one free T1 starter, no coins spent, no upgrades, and your pad's combined seed rate sits at the 1× base figure that every other fresh account begins at. The next twenty or thirty minutes of buying T1s, holding a spare, and then committing the pair to a T2 merge is the smallest possible loop that demonstrates the hamster village merge mechanics in action — and it costs only a handful of coins to run, which is why creators like Jayy. vv open their tutorials with exactly this ladder rather than a flashy late-game demo.
| Stage | Hamsters on Pad | Approx. Combined Seed Rate |
|---|---|---|
| Start | 1× T1 | 1× base |
| Buy 1 | 2× T1 | 2× base |
| Merge | 1× T2 | ~2.4× base (already a win) |
| Buy 3 | 1× T2, 3× T1 | ~5.4× base |
| Merge pair of T1s | 1× T2, 1× T1 | ~3.4× base (temp dip) |
| Buy 1 more T1 | 1× T2, 2× T1 | ~4.4× base |
| Merge the two T1s | 2× T2 | ~4.8× base |
| Merge the two T2s | 1× T3 | ~5.5× base (big jump) |
The pattern to notice is the temporary dip right before a tier-up merge — that's the cost of the chain, and it's the reason the "keep one spare" advice from the previous section exists. By the time you reach a stable T3 producer, your pad is producing roughly five times what it was when you started, without spending a single extra coin beyond the starter purchases.
This is also why YouTube creators like Jayy. vv and GADOSTI open their Hamster Village videos with a merge montage: the visual punch of two small hamsters collapsing into one bigger hamster is the most cinematic moment in an otherwise numbers-driven loop.
Hamster Village Merge Tutorial Wrap-Up
The merge chain is the engine of the entire game, and once you treat it as the default action rather than an occasional optimization, your income curve flattens out into a smooth climb instead of the staircase most new players experience. Drag matching pairs, keep one spare per tier, and spend Money on the cheapest pair that would unlock your next milestone — those three rules cover about ninety percent of the strategic depth in the loop. The remaining ten percent is roster timing and update awareness, both of which the linked companion guides cover in detail.
Frequently Asked Questions
What does merging do in Hamster Village?
Merging consumes two hamsters of the same tier and produces one hamster of the next tier, which drops seeds at a higher rate than the pair it replaced. It does not stack bonuses, refund Money, or allow cross-tier combinations.
How do I merge hamsters in Hamster Village?
Drag one hamster on top of another hamster of the same tier; the merge animation plays and a new hamster of the next tier appears in place. The action is free, instant, and irreversible — there is no Money cost, no cooldown, and no confirmation prompt, so accidental drags on a touch device can permanently consume two Tier 3 producers you meant to keep, which is why the dedicated backup slot per tier (mentioned in the undo FAQ below) is a common safety habit.
When should I stop merging and start buying from the shop?
Once your pad is mostly higher-tier hamsters and merging would leave you with no producers, switch to buying matching pairs from the shop. The rule of thumb is to keep one spare per tier so a merge never strands you.
Does merging unlock new hamsters in the collection roster?
Yes — each new tier you reach through a merge adds that hamster to your collection roster, and finishing roster sets grants permanent passive bonuses such as increased seed drop rate, faster merge animations, and a small Money multiplier on every shop purchase. The Tier 1 starter hamster fills the first slot automatically, so every subsequent roster entry must come from a successful merge, and missing a single tier in the set will block the completion bonus for that tier family until you produce one through further hamster village merging.
Can I undo a merge if I made a mistake?
No, merges are permanent. If you merge a hamster you wanted to keep, you have to buy a replacement at the matching tier, which is why most players keep a dedicated backup slot for at least one hamster of each tier.