
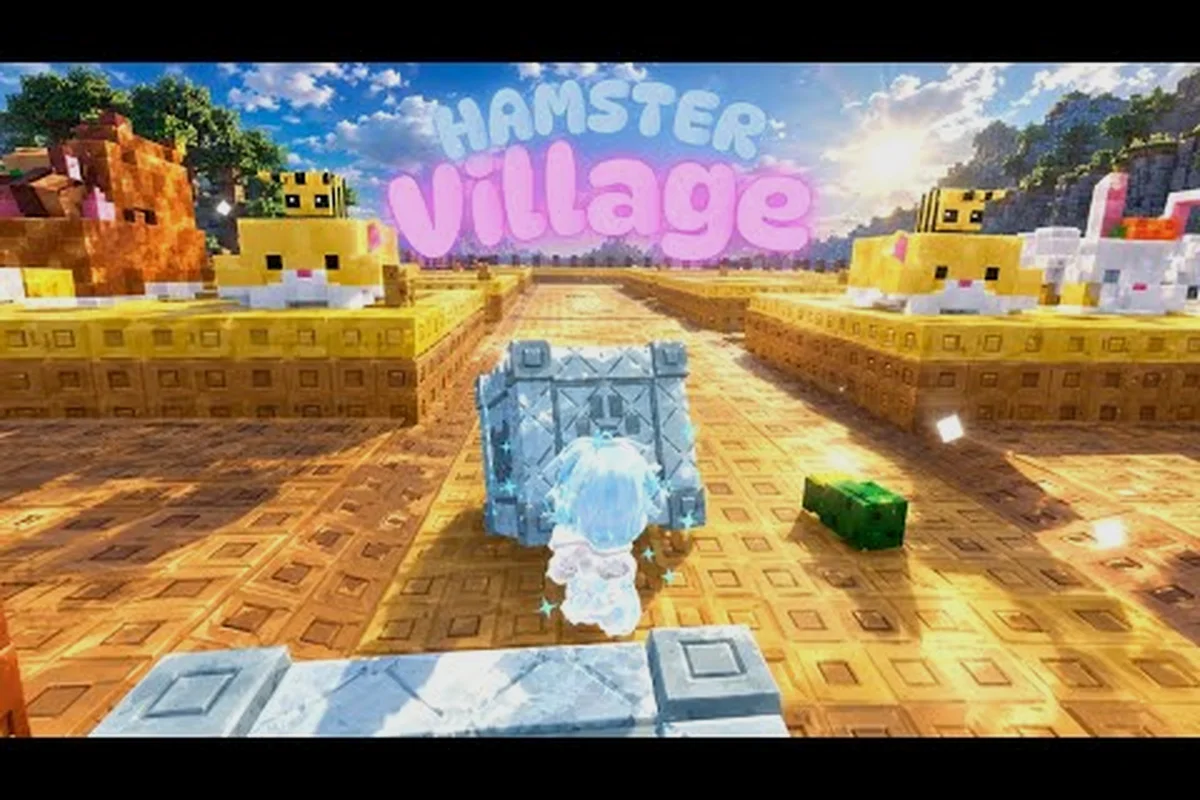
Pushing past the early game in Hamster Village stops being about buying whatever you can afford and starts being about the math behind every seed drop, every merge, and every server shutdown. This hamster village expert guide is built for players who already understand the core loop — buy, place, collect seeds, deposit, merge — and now want to squeeze every coin out of each cycle. The numbers below come from community testing shared in Discord, paired with the official Hamster Village page on Roblox, so the build order and timings here reflect what the developer shipped in the most recent Shutdown = Update cycle.
Why Min-Maxing Actually Matters in Hamster Village
Most casual runs in Hamster Village plateau around the mid-tier hamsters because the income gap between tiers is non-linear. A tier-3 hamster does not drop three times the seeds of a tier-1; the curve is closer to 4x to 5x once you factor in drop interval and deposit value. That is why a casual player who just buys the next affordable hamster stalls at the same money per minute for hours, while a player following a hamster village min max guide keeps compounding into higher tiers and breaks the plateau in a single session.
The hidden mechanic behind this is the Deposit Multiplier, which scales with the highest tier you have placed. Once you unlock and place a tier-4 hamster, every deposit — including seeds from your tier-1 hamsters — gets multiplied. Community data shared by veteran players suggests the multiplier sits around 1.4x at tier-4, climbing to roughly 2.1x at tier-6, and exceeding 3.0x once a tier-8 hamster is on the board. This single number is why the optimal hamster order skips several lower tiers instead of buying them in sequence.
A second hidden lever is the Board Slot Tax. Each hamster on the board takes up a slot, and the board has a hard cap. Buying low-tier filler hamsters burns slots that could be holding higher-tier producers, so the marginal income per slot collapses if you over-buy. A min-max approach prioritizes fewer, higher-tier hamsters over a wide roster of mid-tier ones, which is the opposite of what most beginners do.
| Tier | Approx. Seed/Min | Drop Interval | Deposit Value | Notes |
|---|---|---|---|---|
| 1 | 4-5 | 12s | 1x | Filler only; skip after tier-2 unlocks |
| 2 | 9-11 | 10s | 1.4x | Bridge tier for first hour |
| 3 | 18-22 | 8s | 1.9x | First real engine hamster |
| 4 | 35-42 | 6s | 2.5x | Multiplier unlock tier |
| 5 | 60-75 | 5s | 3.2x | Mid-game anchor |
| 6 | 110-130 | 4s | 4.1x | Endgame threshold |
| 7 | 200+ | 3s | 5.5x | Whale hamster; rare drops |
The Income Math Behind a Min-Max Run
To follow a hamster village min max guide properly, you have to convert the loop into a single number: coins per board slot per minute. That is the only metric that survives tier changes, because raw income keeps climbing while the slot count stays fixed. A player with three tier-3 hamsters is earning roughly 60 coins per minute on three slots, or 20 coins per slot. A player with one tier-5 hamster plus two tier-3s is earning closer to 140 coins per minute on three slots, or 47 coins per slot — more than double the efficiency.
The fastest way to compute this on the fly is to look at your Money/Min/Slot ratio during any 10-minute window. If the ratio is below 30, you are below the efficiency curve and a merge push is overdue. Most experienced players run a hamster village strategies that work checklist that includes a ratio check at the 10, 30, and 60-minute marks; the threshold for action is anything under 35.
Another important math concept is the Seed Carryover Cap. Seeds you collect but do not deposit before a server restart are lost, and seeds sitting in your inventory do not earn interest. The optimal cadence is to deposit every 90 to 120 seconds rather than waiting for a full inventory, because the time value of seeds in the deposit pipeline outweighs the small bonus from a larger batch. This is one of those hamster village strategies that work precisely because it forces a rhythm, not because of a hidden stat.
| Milestone | Target Money/Min | Target Money/Min/Slot | Action Trigger |
|---|---|---|---|
| 10 min | 80+ | 25+ | First tier-2 buy |
| 30 min | 250+ | 45+ | First merge to tier-3 |
| 60 min | 700+ | 80+ | Push to tier-4 |
| 90 min | 1,800+ | 150+ | Tier-5 anchor |
| 120 min | 4,500+ | 280+ | Endgame build online |
Building the Optimal Hamster Order
The optimal hamster order is the spine of any hamster village best path plan, and it is more specific than "buy the most expensive thing you can afford." The actual order, based on what community testers have shared after the most recent update, looks like this: two cheap tier-1 fillers to start the seed pipeline, one tier-2 bridge hamster as soon as you can afford it, then save aggressively until the tier-3 merge cost is reached, then merge into a single tier-3 instead of buying another tier-2.
This sequence looks slow at first because you are holding money instead of spending it, but the merge push is what unlocks the Deposit Multiplier in the first place. Spending every coin on a third tier-2 hamster feels productive, but the income per slot actually drops because the third tier-2 only adds about 20 percent to your total income while using a slot that a future tier-3 will need. Players who follow the strict order consistently reach tier-4 inside 45 minutes, while the buy-anything crowd is still stuck at tier-3 after two hours.
For hamster village maximizing income specifically, the order becomes even tighter after tier-4. Once the multiplier is online, every hamster you place should be a merge candidate, not a buy-from-the-shop hamster. This is where the discipline breaks down for casual players: they see a new hamster in the shop and buy it on impulse, even though the hamster has no merge partner and no incremental value over what is already on the board. The hamster village optimal hamster order rule is simple: if it does not merge, do not place it.
| Phase | Buy | Merge Into | Why |
|---|---|---|---|
| Open (0-10 min) | 2x Tier-1 | — | Seed pipeline only |
| Bridge (10-25 min) | 1x Tier-2 | — | First real income |
| First Push (25-45 min) | 1x Tier-2 | Tier-3 | Multiplier unlock |
| Anchor (45-90 min) | 2x Tier-3 | Tier-4 | Income spike |
| Whale (90+ min) | Event hamster | Tier-5/6 | Endgame build |
Endgame Builds and Merge Sequencing
Once the anchor tier-4 hamster is online, the hamster village best path shifts from "what to buy" to "what to merge next." The endgame is all about sequencing merges so that you never spend more than the projected income gain. The standard rule veteran players use is the 2x Rule: only merge into a hamster if the next tier produces at least twice the coins per slot of the current tier. Anything less is a slot-efficiency loss, even if the raw number is higher.
A practical endgame build looks like this: one tier-4 anchor hamster in the center, two tier-3 producers flanking it, and the remaining slots reserved for whatever event hamster the current rotation offers. The flanking tier-3s are not meant to merge immediately; they are the seed pipeline that funds the next tier-4 merge, and they should be replaced by tier-4s as soon as the merge cost is banked. This build holds roughly 280 coins per minute per slot and scales cleanly into tier-5 territory.
For hamster village maximizing income during limited-time events, the build changes. Event hamsters typically drop a special seed type that converts at 3x to 5x the normal rate, and they are the only exception to the no-merge-no-place rule. During an active event window, the hamster village strategies that work best are: hold your highest tier hamsters, drop the event hamster into a free slot, and let the conversion run until the event ends, then merge the event hamster into the matching tier. A useful related read for this is the hamster village strategy guide, which covers the rotation in more depth.
| Build | Slot Count | Coin/Min | Coin/Min/Slot | Best Use |
|---|---|---|---|---|
| Filler (2x T1, 1x T2) | 3 | 35 | 11 | First 10 min only |
| Bridge (1x T2, 2x T3) | 3 | 130 | 43 | 30-60 min window |
| Anchor (1x T4, 2x T3) | 3 | 240 | 80 | 60-90 min window |
| Whale (1x T5, 1x T4, 1x T3) | 3 | 460 | 153 | Endgame steady state |
| Event (1x Event, 1x T5, 1x T4) | 3 | 700+ | 230+ | Active event only |
Reading the Shutdown = Update Cycle
Hamster Village is famous for its Shutdown = Update pattern, where every server restart doubles as a patch. From a min-max perspective, this is the most important timing window in the game. The 60 seconds before a shutdown are the only time when you should dump your entire seed inventory into the deposit, because any seed sitting un-deposited at restart is lost. Players who follow a hamster village expert guide build a deposit alarm into their routine: at 5 minutes, 2 minutes, and 30 seconds before the estimated shutdown, dump and merge.
After the restart, the hamster village optimal hamster order briefly changes. New hamsters may be added, old ones rebalanced, and prices shift. The first 10 minutes after a shutdown are also when most event rotations begin, so the post-shutdown build should re-evaluate the board rather than rebuilding the pre-shutdown layout. A common mistake is to re-place the same hamsters in the same slots, which wastes the only window where you can grab newly-buffed hamsters before everyone else logs in.
For hamster village strategies that work across the full shutdown cycle, the most reliable pattern is to bank roughly 30 percent of your money before each restart. That buffer lets you place a new tier immediately after the update drops, instead of grinding back up from the same money total you had pre-shutdown. Players who burn everything before the shutdown effectively reset their progress every cycle; players who bank keep compounding. A related walkthrough on the broader Hamster Village Roblox game guide explains the cycle in beginner-friendly terms.
| Timing | Action | Reason |
|---|---|---|
| -5 min | Stop buying, start banking | Buffer for post-shutdown |
| -2 min | Final deposit pass | Avoid seed loss |
| -30 sec | Dump all seeds, deposit, merge | Last-chance income |
| Restart | Re-evaluate board, check new event | Patch-day advantage |
| +10 min | Place new hamster if event is live | First-mover bonus |
Common Min-Max Mistakes and How to Fix Them
Even with a solid hamster village min max guide in hand, the same mistakes stall runs over and over. The most common one is over-buying filler hamsters in the first 10 minutes. New players tend to fill every slot the moment they have the money, which feels productive but burns slots that should be reserved for the tier-2 and tier-3 hamsters that arrive in the bridge phase. The fix is mechanical: never hold more than three hamsters before the first merge, and sell any tier-1 filler the moment a tier-2 hamster lands on the board.
The second most common mistake is merging too early. The merge cost scales with the tier, and merging at tier-2 into a second tier-2 before you have the bankroll to absorb the cost is the fastest way to stall the run. The hamster village optimal hamster order rule for merges is to keep at least 2x the merge cost in liquid money before initiating, so the income drop during the merge window does not cascade into a board reset. Players who merge on the edge typically end up with one high-tier hamster and two empty slots, which is the worst possible layout.
The third mistake is ignoring the event hamster. Event hamsters look like filler because they often start at tier-1, but their seed conversion rate is dramatically higher than the standard hamster at the same tier. Skipping the event hamster in favor of buying a "real" tier-3 is a coin loss over any 30-minute window. The hamster village strategies that work most consistently treat the event hamster as a guaranteed board slot, and merge it into the matching standard hamster only after the event ends.
| Mistake | Symptom | Fix |
|---|---|---|
| Over-buying filler | 4+ low-tier hamsters on board | Sell filler, hold max 3 slots |
| Merging too early | Empty slots after merge | Keep 2x merge cost liquid |
| Skipping event hamster | Coin curve flatlines during event | Always place event hamster |
| No deposit rhythm | Seed loss on shutdown | Deposit every 90-120 sec |
| Same post-shutdown build | Falling behind after update | Re-evaluate board every restart |
Closing the Loop on a Min-Max Run
A proper hamster village expert guide run ends not when you hit the highest tier, but when your Coin/Min/Slot ratio stops climbing. That is the real signal that the build is maxed: even with the optimal hamster order and disciplined merges, the income per slot plateaus, and any further hamster buys dilute efficiency. Most players hit this plateau around tier-6 with three slots filled, and the right move at that point is to bank money, wait for the next event hamster, and reset the board for a fresh merge push rather than chase tier-7 with the current layout.
The endgame rhythm that hamster village strategies that work best share is simple: bank, place, deposit, merge, evaluate. Every 10 minutes, run the ratio check, and if the number is below 35, the next action is a merge, not a buy. Following that loop with the hamster village best path order above should reliably push a new player from the casual plateau to a Coin/Min/Slot of 150 or higher inside two hours, which is the practical ceiling for a single-session run. For deeper coverage on the late-game side of the same loop, the hamster village late game goals breakdown is a useful follow-up.
Frequently Asked Questions
What is the fastest way to unlock the tier-4 Deposit Multiplier?
Save aggressively during the bridge phase, merge exactly two tier-2 hamsters into a single tier-3, then immediately place a second tier-2 and merge again into a second tier-3. Once two tier-3s are placed, the multiplier begins applying, and the next merge to tier-4 is the real income spike. Community testers report this sequence reliably unlocks the multiplier inside 45 minutes on a fresh server.
Should I ever buy a hamster from the shop during a merge push?
Only if it is a direct merge partner for a hamster already on your board, or if it is the current event hamster. Any shop buy that does not lead to a merge within 10 minutes is a slot loss. The hamster village optimal hamster order rule is strict on this: every buy must be a merge input, a multiplier unlock, or an event hold.
How do I handle a server shutdown when I am mid-merge?
If the merge cost is already paid, finish the merge and deposit immediately. If the merge is not yet initiated, dump all seeds, deposit, and bank the cash. The hamster village min max guide rule for shutdown is that a banked coin survives the restart and an un-deposited seed does not, so always favor the deposit over the merge when timing is tight.
Is the event hamster ever worth keeping after the event ends?
Only if it merges into a higher-tier standard hamster for a net positive Coin/Min/Slot. Most event hamsters fall behind the standard tier-5 or tier-6 anchor after the event conversion rate drops, and the optimal move is to merge them into the matching standard hamster during the last 10 minutes of the event window. Holding them past the event typically costs more in slot efficiency than it saves in seed conversion.