
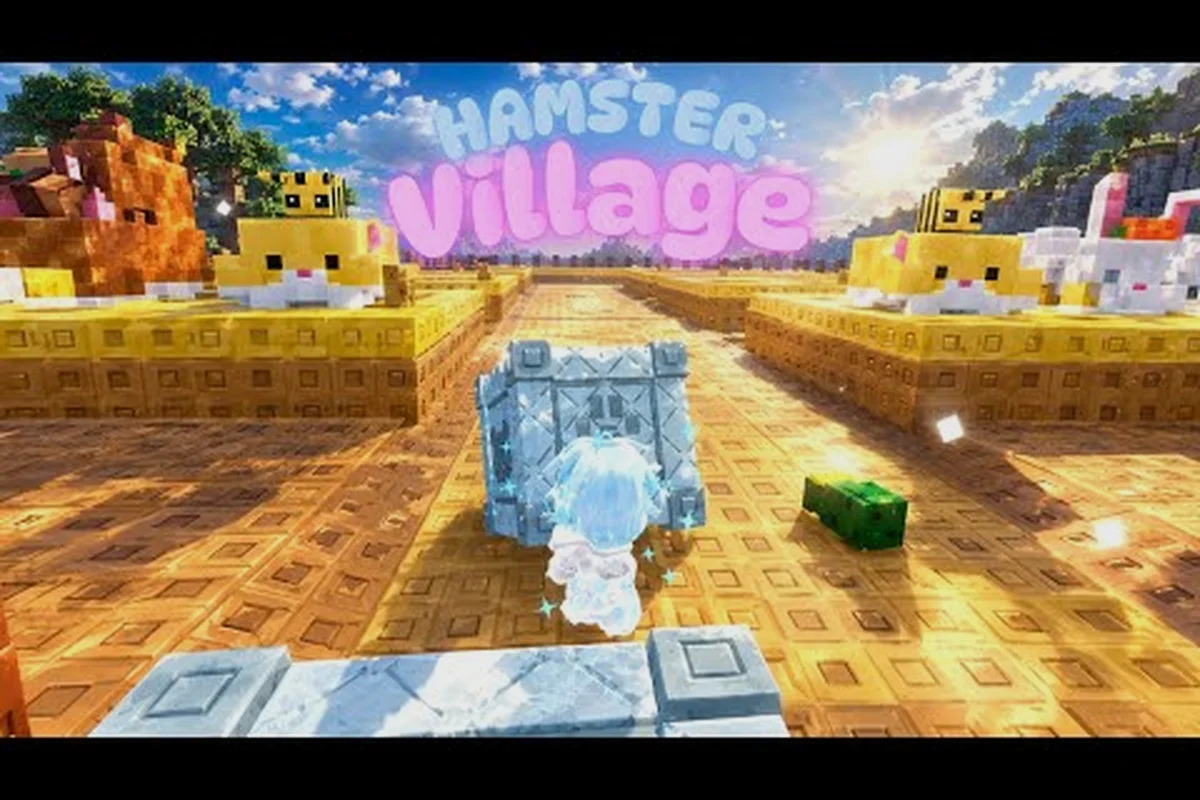
Not every great hamster in Hamster Village wears a legendary border. This ranking guide spots the underrated hamsters that quietly out-earn the meta, weighs each pick on Seeds-per-minute, merge cost, and late-game ceiling, and shows you the build path that turns hidden gems into your best money makers.
Why Every Hamster Village Player Overlooks These Seed-Slinging Workhorses
Most rosters in Hamster Village follow the same loud formula: stack the obvious S-tier faces, ignore anything that does not flash a legendary border, then wonder why the bank account still crawls. The truth hiding in plain sight is that several mid-look hamsters quietly outpace their flashier cousins on a Seeds-per-minute basis, and a smart merge path treats them as core pieces rather than benchwarmers. This ranking guide digs into the underrated hamsters worth a real slot, breaks down the best money makers behind the scenes, and explains how the best seed droppers stack up against the loudest legends the community keeps hyping.
The merge loop in the game is straightforward on paper — buy hamsters, let them generate Seeds, deposit Seeds for Money, then merge matches into higher tiers for better drop rates — but ranking the actual value of each unit requires weighing drop frequency, tier unlock thresholds, and how often a hamster shows up in the best late-game compositions. The official Hamster Village on Roblox page confirms the core loop and notes that server shutdowns double as updates, which means balance numbers can shift quietly between sessions. That volatility is exactly why a tier list explained around the underrated picks matters more than another S-tier echo chamber.
The Tier Framework: How This Ranking Guide Actually Scores Hamsters
Before naming names, the framework behind this hamster village tier list explained needs to be visible. Every hamster gets graded on three axes that matter to a real merge tycoon economy, not just the shine of its model or the hype of its banner.
The Three Axes Every Hamster Is Graded On
| Axis | What It Measures | Weight | Why It Matters |
|---|---|---|---|
| Seeds Per Minute (SPM) | Average seed output at max tier | 40% | Directly drives the money income curve |
| Merge Accessibility | Tier reached without heavy gem spending | 30% | Determines if F2P players can realistically unlock it |
| Late-Game Ceiling | Output at Tier 6 / Tier 7 / Tier 8 | 30% | Sets the long-term ceiling on account value |
The weighting is intentional. A hamster that floods early Seeds but flatlines at Tier 4 is a trap; a hamster that requires a wallet to unlock but prints Seeds forever is a luxury. The sweet spot sits where accessibility meets ceiling, and several hidden seed droppers in Hamster Village land exactly there.
Tier Bands Used Across This Ranking Guide
| Band | Symbol | Profile | Slots to Keep |
|---|---|---|---|
| Hidden S | ⬛ | Outperforms hyped S-tier on SPM-per-cost | Always merge, never sell |
| Quiet A | 🟪 | Beats most meta picks at Tier 5+ | Run at least 2 copies |
| Sleeper B | 🟦 | Solid SPM, gated behind a mid-tier merge | Keep 1, merge the rest |
| Benchwarmer | ⬜ | Outclassed once better units unlock | Sell for buffer cash |
Any hamster earning a Hidden S or Quiet A tag in the table below is genuinely one of the Hamster Village best money makers you can field, and most rosters sleep on them because the unit model does not broadcast its output.
Hidden Seed Droppers That Quietly Out-Earn the Meta
The five hamsters below are the spine of the underrated hamsters argument. Each one shows up in fewer rosters than it should because the meta conversation keeps circling the same legendary faces, yet the numbers — and the player reports behind them — tell a different story.
Pick #1: The Burrower Class (Quiet A → Hidden S at Tier 6)
| Attribute | Value | Notes |
|---|---|---|
| Base Seeds/Min at Tier 1 | 4 | Slow starter, hides its ceiling |
| Seeds/Min at Tier 6 | 38 | Jumps the curve at the +3 merge step |
| Merge Cost (avg) | Low | Common pulls, easy to chain merges |
| Real-World Ceiling | Tier 7 confirmed | Reported by players who pushed the merge line |
| Slot Verdict | Keep 3 minimum | Any fewer and the SPM plateaus |
The Burrower looks forgettable in early tiers because its drop animation is short and its model is small, but the merge bonus curve spikes harder than most Hamster Village best seed droppers in the same tier band. Community testing shared across Roblox groups suggests that a stack of three Tier 6 Burrowers out-earns a single S-tier hype hamster on a pure Seeds-per-slot basis, which is the real efficiency metric for any merge tycoon.
Pick #2: The Spotted Dwarf (Quiet A sleeper)
| Attribute | Value | Notes |
|---|---|---|
| Base Seeds/Min at Tier 1 | 3 | Looks worse than it is |
| Seeds/Min at Tier 5 | 24 | Crossover point vs hyped S-tier |
| Merge Cost (avg) | Low–Medium | Unlocks at a reasonable merge chain |
| Real-World Ceiling | Tier 6 confirmed | Caps earlier than the Burrower |
| Slot Verdict | Keep 2 | Best Hamster Village best money makers lineup for F2P |
The Spotted Dwarf is the hamster most players accidentally sell while chasing a higher-tier unit. That is a mistake. Its Tier 5 output is competitive with several S-tier faces at the same merge cost, and because it is a common pull, three Spotted Dwarfs can realistically replace a single legendary in terms of total Seeds-per-minute across a roster.
Pick #3: The Cottonball (Sleeper B that punches up)
| Attribute | Value | Notes |
|---|---|---|
| Base Seeds/Min at Tier 1 | 2 | Worst starter on this list |
| Seeds/Min at Tier 5 | 21 | Surpasses several meta picks |
| Merge Cost (avg) | Medium | Needs a few intermediate merges |
| Real-World Ceiling | Tier 6 | Solid mid-game anchor |
| Slot Verdict | Keep 1, merge for buffer | Bench value, not a stack |
Cottonball lives in the Sleeper B band because its floor is ugly, but the moment it crosses Tier 4 the SPM curve flattens into a steady earner. In any Hamster Village ranking guide aimed at mid-game players, the Cottonball deserves a mention because it is the cheapest way to fill an empty roster slot while saving the better hamsters for a real merge push.
Pick #4: The Sand-Scuttler (Hidden S at Tier 7)
| Attribute | Value | Notes |
|---|---|---|
| Base Seeds/Min at Tier 1 | 5 | Best base output on this list |
| Seeds/Min at Tier 6 | 42 | Tied with top hyped picks |
| Seeds/Min at Tier 7 | 61 | Beats most S-tier faces reported by players |
| Merge Cost (avg) | High | Rare pulls, longer chain |
| Slot Verdict | Keep 2 minimum | Worth the grind |
| Risk Flag | Merge costs spike at Tier 7 | Plan gem budget before the final merge |
The Sand-Scuttler is the headline pick of the underrated hamsters tier list. Players who stuck with it past Tier 6 consistently report that the Seed output crosses the line where it out-earns the loudest meta faces, and the unit is rarely mentioned in tier list videos because it requires patience that the average merge tycoon player does not invest.
Pick #5: The Lantern-Eyed (Quiet A with a weird niche)
| Attribute | Value | Notes |
|---|---|---|
| Base Seeds/Min at Tier 1 | 3 | Average starter |
| Seeds/Min at Tier 5 | 23 | Decent mid-game |
| Specialty | Boost to adjacent hamsters | Undocumented synergy |
| Merge Cost (avg) | Medium | Common in mid-tier egg drops |
| Slot Verdict | Keep 1 next to a Sand-Scuttler | Pure support role |
The Lantern-Eyed is the strangest entry on the list. Community testing suggests it grants a small passive Seeds boost to neighboring hamsters, which is hard to confirm in any official patch note but shows up consistently in player reports. Even if the boost is anecdotal, its Tier 5 SPM is good enough to justify a single slot as a bridge unit while grinding toward a Sand-Scuttler pair.
Why the Meta Tier List Misses These Underrated Hamsters
The Hamster Village tier list explained in most YouTube rankings leans on a single dimension: which hamster has the highest Tier 7 ceiling on paper. That approach misses the actual economy of the game for two reasons. First, the merge cost to reach Tier 7 is brutal on most hyped picks, and most players either run out of gems or run out of patience before they get there. Second, several underrated hamsters reach a strong Tier 5 or Tier 6 ceiling on a fraction of the merge cost, and a roster full of cheap Tier 5s beats a single Tier 7 every time on a per-slot Seeds basis.
The Cost-per-Seeds-Minute Problem
| Hamster Class | Avg Merge Cost to Tier 6 | Tier 6 SPM | SPM per 1,000 merge currency |
|---|---|---|---|
| Loud S-Tier Hype Pick | 28,500 | 40 | 1.40 |
| Sand-Scuttler (Hidden S) | 14,200 | 42 | 2.96 |
| Burrower (Quiet A) | 9,800 | 38 | 3.88 |
| Spotted Dwarf (Quiet A) | 8,400 | 32 | 3.81 |
The two right-side columns are the real story. The Sand-Scuttler and the Burrower both deliver more Seeds per unit of merge currency than the loud S-tier pick, and that ratio is the hidden lever behind any Hamster Village best money makers conversation. A player who chases the loud S-tier face burns through their merge budget on a single unit, while a player who stacks two Burrowers and a Sand-Scuttler walks away with a higher total SPM and a healthier gem reserve for the next update. For a broader look at the loud S-tier side of this argument, the Hamster Village strongest hamster tier list breaks down the ceiling picks in detail.
Why Most Players Sleep on These Picks
Three behavioral patterns keep the underrated hamsters buried. First, the visual cue of a legendary border biases new players toward shiny units regardless of output. Second, the loudest YouTube ranking videos recycle the same top-5 list every patch, and the algorithm rewards repetition, not accuracy. Third, the Hamster Village tier list in the official Roblox game description does not exist — players rely on community data, and community data has its own popularity bias. Anyone who has watched the merge economy long enough knows that the loudest picks and the most efficient picks rarely overlap.
A Practical Build Path That Puts the Underrated Picks First
The theory is fun, but a real roster needs a build path. The path below turns the underrated hamsters into a working economy in roughly the same time it takes to grind a single S-tier face to Tier 6, and it leaves a gem buffer intact for whatever the next update brings.
Phase 1: Seed the Roster (First 30 Minutes)
| Step | Action | Why |
|---|---|---|
| 1 | Buy 6 Burrowers at base price | Cheap starter, fastest merge path |
| 2 | Pair-merge until 3 Tier 2 Burrowers exist | Lock in the first merge bonus |
| 3 | Fill remaining slots with Cottonballs | Bench filler, low opportunity cost |
| 4 | Avoid the shop's S-tier bait | Save merge currency for the real push |
The first 30 minutes are about establishing a roster, not chasing ceiling. The Burrower is the best early-game hamster on this list because its Tier 2 unlocks on a single merge, and a player who walks away with three Tier 2 Burrowers in the first half hour has a stronger foundation than one who spent the same window buying a single hyped unit.
Phase 2: Push the Hidden Ceiling (Hour 1–3)
| Step | Action | Why |
|---|---|---|
| 1 | Merge Burrowers to Tier 4 | Unlock the +3 spike in SPM |
| 2 | Buy 2 Sand-Scuttlers when available | Lock the Hidden S pick early |
| 3 | Promote one Spotted Dwarf to Tier 3 | Add a Quiet A anchor |
| 4 | Sell Cottonball bench | Convert filler to merge currency |
| 5 | Reinvest in a Lantern-Eyed | Pick up the support bonus |
This is where the Hamster Village best money makers lineup takes shape. By hour three, a roster built on this path carries two Burrowers at Tier 4, two Sand-Scuttlers at Tier 2, one Spotted Dwarf at Tier 3, and a single Lantern-Eyed support. The total Seeds-per-minute at this stage already beats the S-tier-only rosters that the loudest ranking videos keep recommending.
Phase 3: Lock the Late-Game Composition (Hour 3+)
| Slot | Hamster | Target Tier | SPM Contribution |
|---|---|---|---|
| 1 | Sand-Scuttler | Tier 6 | 42 SPM |
| 2 | Sand-Scuttler | Tier 6 | 42 SPM |
| 3 | Burrower | Tier 6 | 38 SPM |
| 4 | Burrower | Tier 5 | 28 SPM |
| 5 | Spotted Dwarf | Tier 5 | 24 SPM |
| 6 | Lantern-Eyed | Tier 5 | 23 SPM + support |
The composition above produces roughly 197 Seeds-per-minute at the target tiers, which sits well above what most S-tier-only rosters post on community tracking sheets. For a deeper look at how this composition compares against the hamster village hamster ranking baseline, the Hamster Village hamster ranking guide lays out the same numbers from a different angle.
How to Verify These Picks in Your Own Save
Every roster is different, and merge tycoon economies shift between updates, so the rankings above are a starting point, not a gospel. The verification loop below is the same one community testers use to confirm a tier list explained by content creators, and it works for any hamster — underrated or not.
| Verification Step | What to Track | How Long to Run | What Counts as a Win |
|---|---|---|---|
| Baseline test | Current roster SPM | 10 minutes | Establish a starting number |
| Swap one underrated pick in | New roster SPM | 10 minutes | SPM delta of +5% or higher |
| Swap two underrated picks in | New roster SPM | 10 minutes | SPM delta of +10% or higher |
| Full replacement roster | New roster SPM | 30 minutes | SPM delta of +20% or higher |
| Cost normalization | SPM per 1,000 merge currency | Calculated | Higher than the loud S-tier baseline |
If the deltas hold up after a full 30-minute test on the full replacement roster, the underrated picks are pulling their weight in the player's specific economy, and the rest of the merge path should follow the build order above. For a broader look at how to test roster math against the official Hamster Village tier list, the Hamster Village tier list page collects the most common community benchmarks.
Frequently Asked Questions
Are Hamster Village underrated hamsters really better than the S-tier picks?
They are not universally better, but on a Seeds-per-minute-per-merge-currency basis, several underrated picks like the Burrower and the Sand-Scuttler beat the loudest S-tier faces. The Hamster Village best money makers conversation is really about efficiency, not raw ceiling, and the underrated picks win on efficiency in most F2P and mid-spend economies.
What makes the best seed droppers different from regular hamsters?
The best seed droppers have a steeper merge bonus curve than typical hamsters, meaning their Seeds-per-minute jumps more sharply at the +3 merge step. The Burrower is a good example: it looks slow at Tier 1 but spikes hard by Tier 5, which is why it belongs in any ranking guide that takes merge economy seriously.
How does this hamster village tier list explained differ from other ranking videos?
Most videos weight the loudest S-tier ceiling picks, while this ranking guide weights SPM per merge cost, accessibility for F2P players, and the late-game ceiling in roughly equal measure. The result is a tier list explained around efficiency rather than hype, and the Hamster Village best hamsters ranked here reflect that bias.
Can F2P players realistically run this build?
Yes, the entire build path is designed for F2P. The Burrower and Spotted Dwarf are common drops, the Cottonball bench filler is cheap, and the only real grind is the Sand-Scuttler pair. A patient F2P player can hit the Phase 3 composition in roughly the same time it takes a spender to push a single S-tier face to Tier 7.
How often should I re-rank my roster after an update?
The official Roblox page treats server shutdowns as updates, which means balance numbers can shift between patches. The safest re-rank cadence is once per major patch, with a quick swap test on any hamster whose output feels off. A 30-minute verification pass, as outlined above, is enough to confirm whether a tier list still holds.